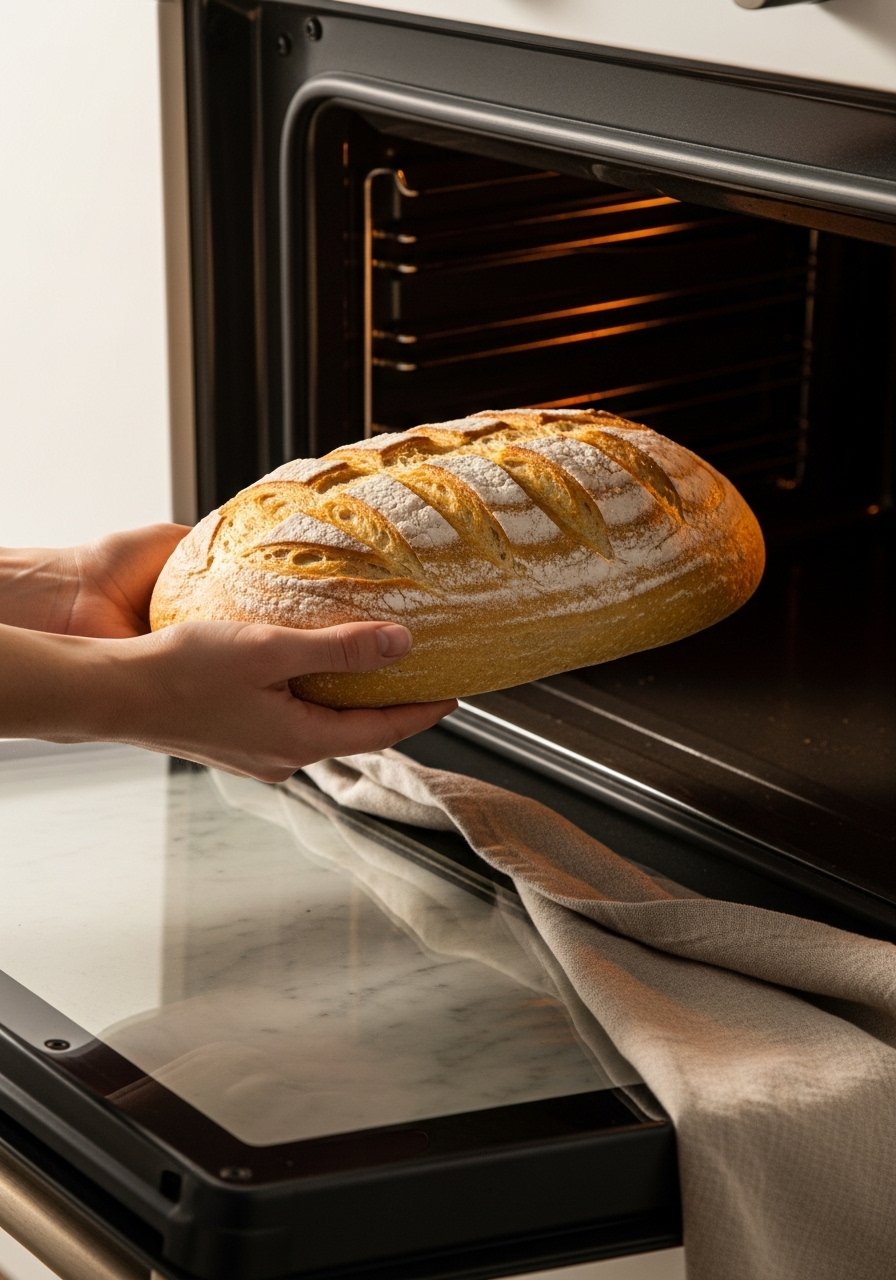
You’ve got ripe bananas and no baking soda—don’t toss them. Learning how to make banana bread without baking soda is easier than you think, and you’ll still get a tall, tender loaf with a golden crust. This method focuses on the right leavener, technique, and timing so your bread rises beautifully every time.
The trick? Use baking powder (double-acting) with proper aeration, room-temperature eggs, and a warm oven. A reliable nonstick 9×5 loaf pan and a digital kitchen scale help you get consistent size and doneness across batches. Expect a moist crumb and the classic banana flavor—no soda required.
Below you’ll learn ingredient swaps, a step-by-step mixing method that traps air, bake timing, and storage tips so your loaf stays fresh. Follow this guide on how to make banana bread without baking soda and bake with confidence.
Preparing Your Ingredients (easy, no-fuss prep)
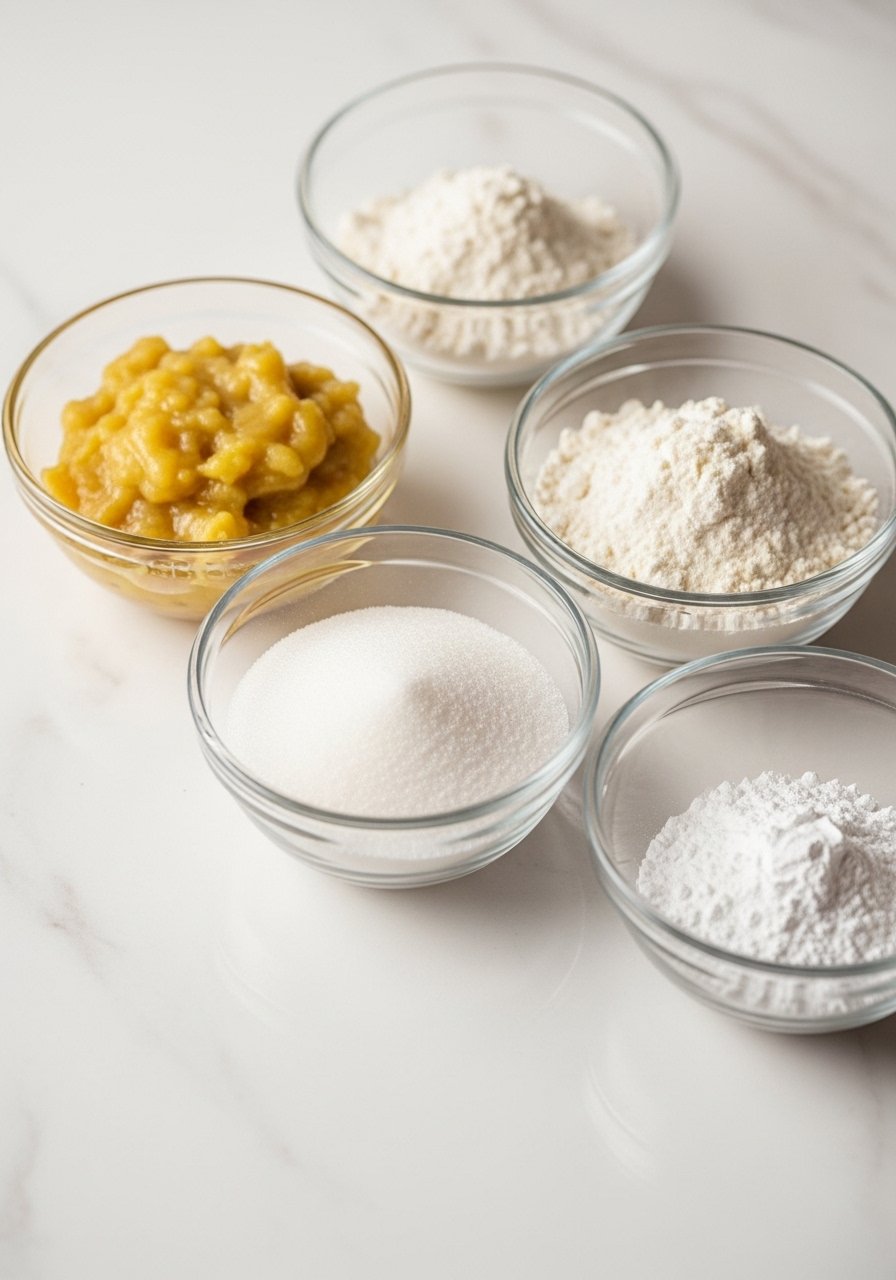
Start with room-temperature ingredients and measure precisely. Using weight or level cups prevents a gummy or flat loaf.
- Bananas: 3 medium (about 1 1/2 cups mashed). Overripe with brown spots = sweeter and moister.
- Flour: 1 1/2 cups all-purpose (sift if lumpy).
- Leavening: 2 tsp baking powder (double-acting) — this replaces soda and the acid reaction.
- Fats & Sugar: 1/3 cup melted butter or 1/3 cup oil, 3/4 cup granulated sugar.
- Eggs: 1 large egg, room temperature.
- Salt & Flavor: 1/2 tsp salt, 1 tsp vanilla.
Helpful tools: line your pan with parchment paper for easy release, and keep a silicone spatula for folding without deflating the batter.
Mixing Technique That Builds Rise (no baking soda needed)
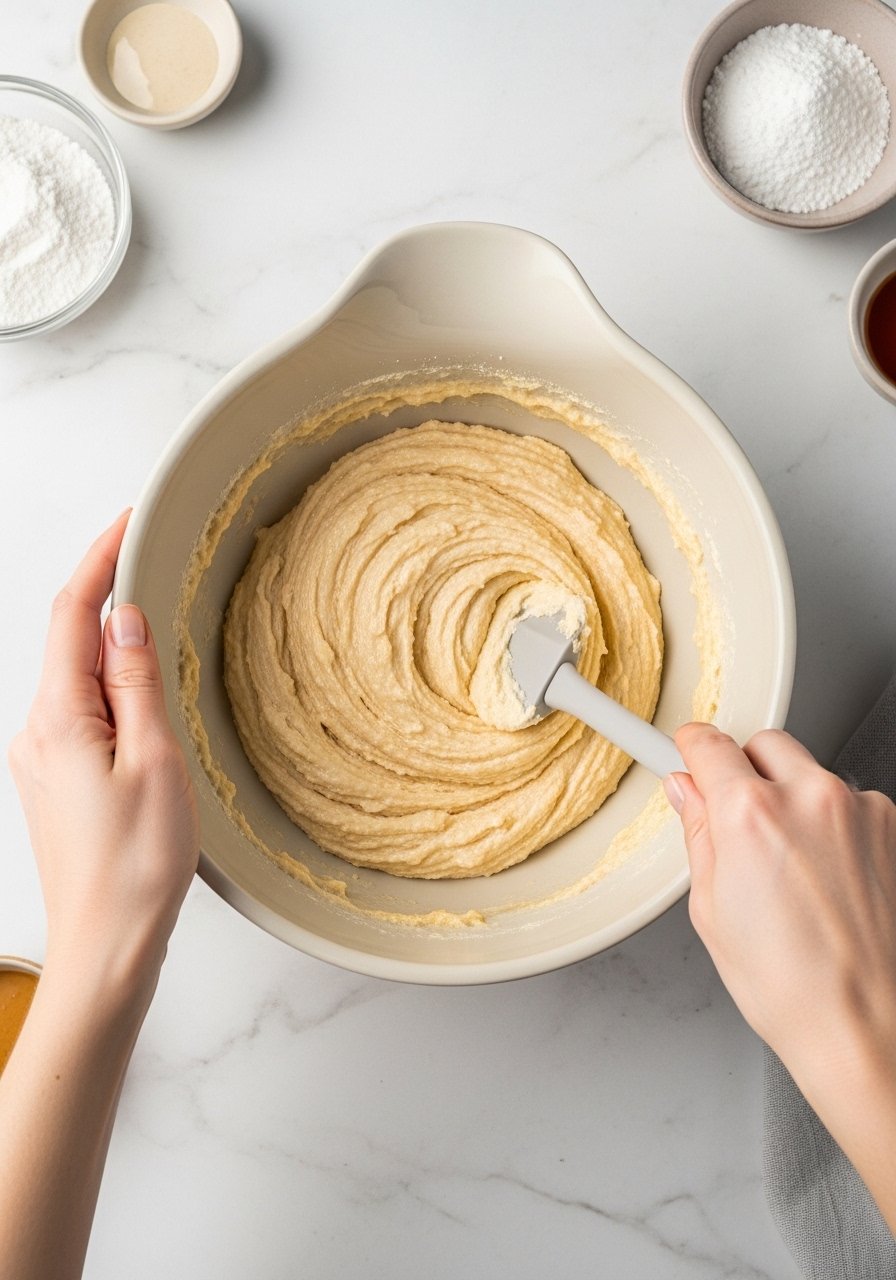
How you mix matters more when you don’t have baking soda’s quick lift. Incorporate air and don’t overwork the batter.
- Whisk wet ingredients: mash bananas, whisk in melted butter, sugar, egg, and vanilla until slightly frothy—this traps air.
- Stir dry: combine flour, baking powder, and salt in a separate bowl.
- Fold dry into wet in 3 additions. Stop when just combined—a few streaks of flour are okay.
- Use a hand mixer if you prefer faster whisking of the wet mix, but switch to a silicone whisk or spatula for folding.
- Tip: Don't overmix—that kills trapped air and yields a dense loaf.
Baking and Testing for Perfect Doneness
Preheat to 350°F (175°C). Pour batter into the prepared nonstick 9×5 loaf pan lined with parchment. Smooth the top with an offset spatula for even rise.
- Bake 50–65 minutes depending on oven and pan. Rotate the pan halfway if your oven has hot spots.
- Check doneness: insert a skewer or toothpick—a few moist crumbs are fine. For precision use an instant-read thermometer; aim for 195°F interior.
- If the top browns too quickly, tent with foil after 30 minutes.
Keep an oven thermometer nearby to verify true oven temperature—many home ovens run hot or cool.
Finishing Touches, Serving, and Storage (make-ahead friendly)
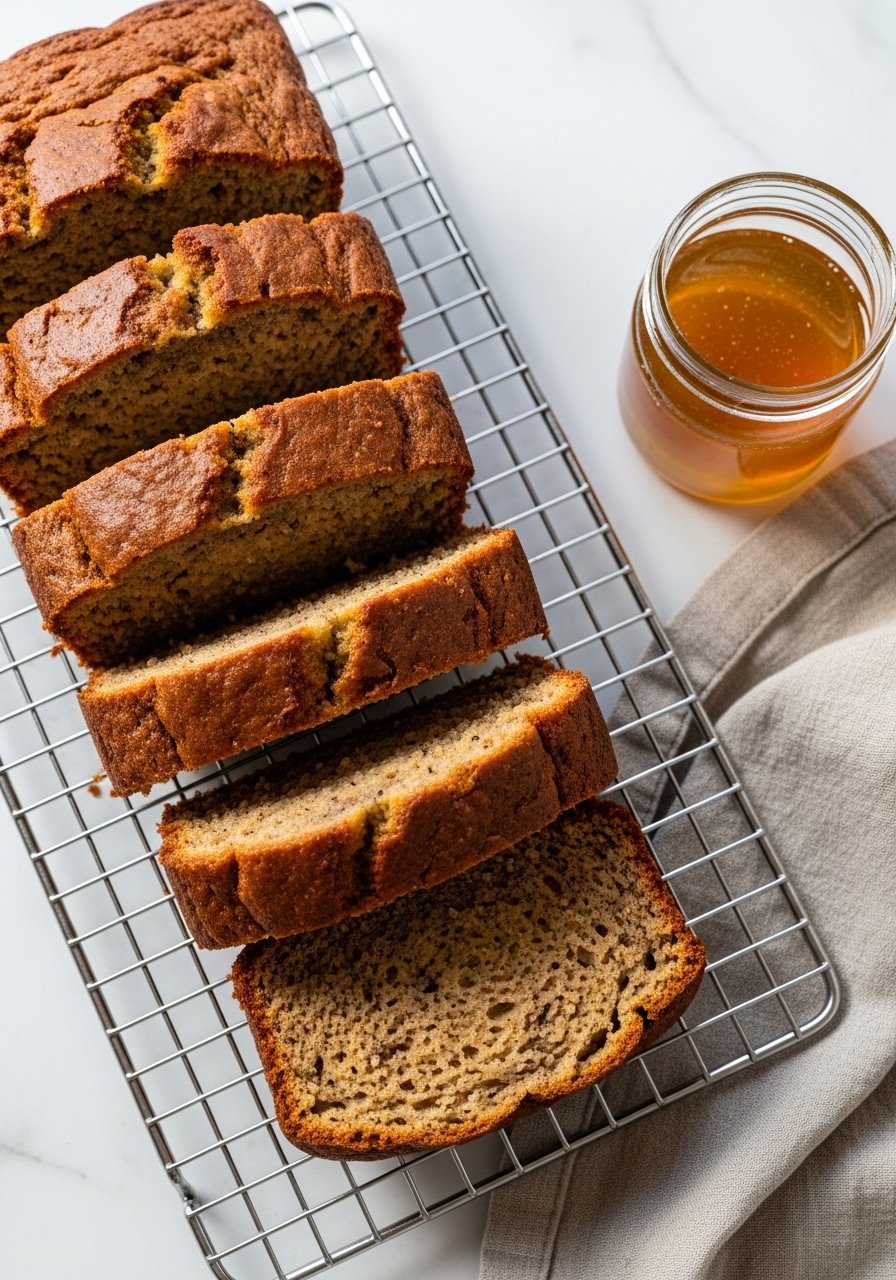
Let the loaf rest in the pan 10 minutes, then transfer to a wire cooling rack so the bottom won’t steam and go soggy. Slice after 20–30 minutes for clean cuts.
- Yields one 9×5 loaf — about 8–10 slices.
- Room temp: store wrapped for 2–3 days.
- Fridge: up to 1 week in an airtight glass container.
- Freeze: slice and freeze flat in freezer bags for up to 3 months.
Variations: fold in 1/2 cup chopped nuts or chocolate chips in step 3. For a lighter crumb, separate the egg, whisk the white to soft peaks, and fold in last.
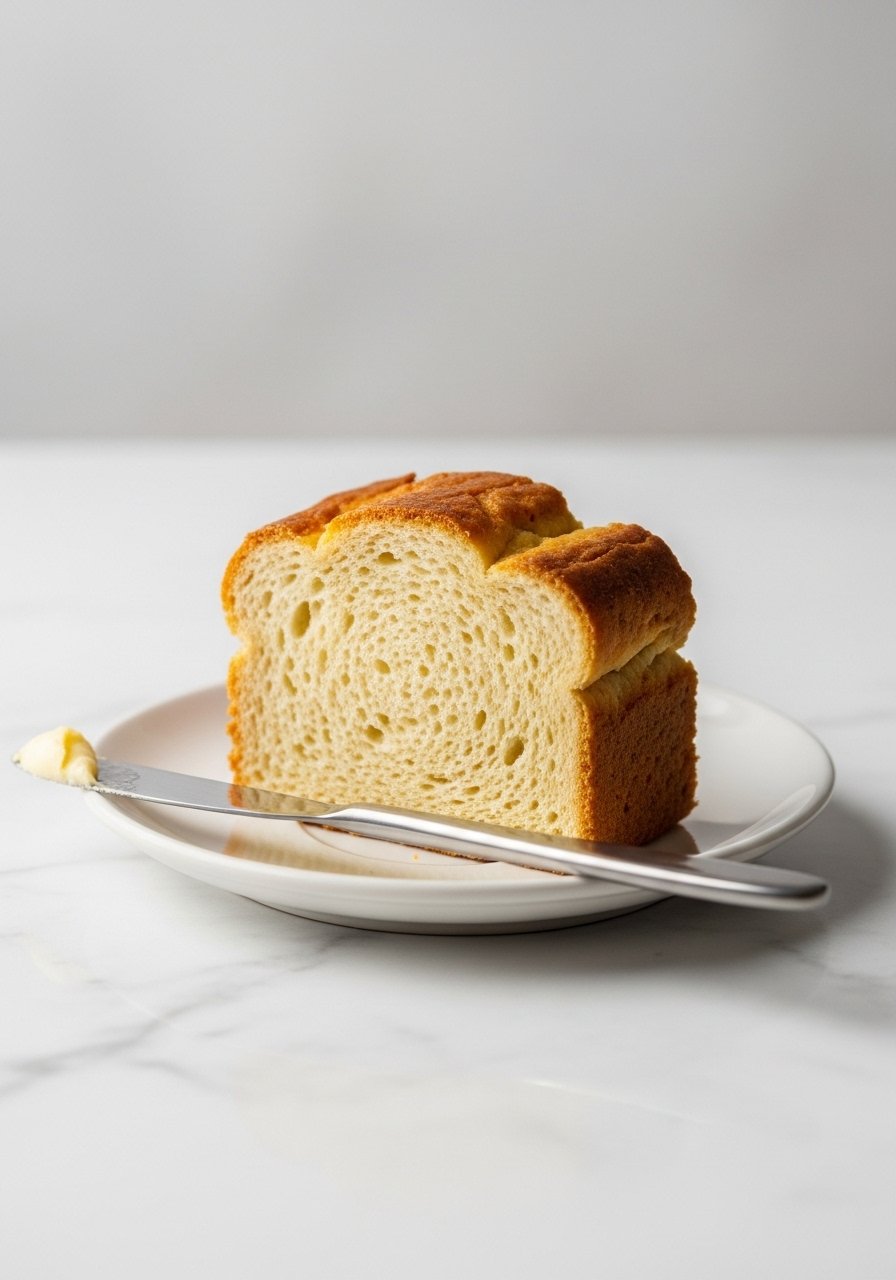
Your loaf should come out tender, slightly domed, and evenly risen without baking soda. Save this guide and pin it for your next batch—perfect for breakfast or a simple dessert. Want to try a twist (walnut, chocolate, or cinnamon swirl)? Grab a wire cooling rack and a digital kitchen scale if you’re baking for guests—tiny tools, big difference. Which variation will you make first? Pin this guide and get baking!